
Lubrication and Anti-Noise Solutions
Proper lubrication and effective anti-noise treatments are essential for quiet, reliable brake performance. Preventing squeaks and excess wear requires addressing the movement of brake components, the use of shims, and the condition of metal surfaces.
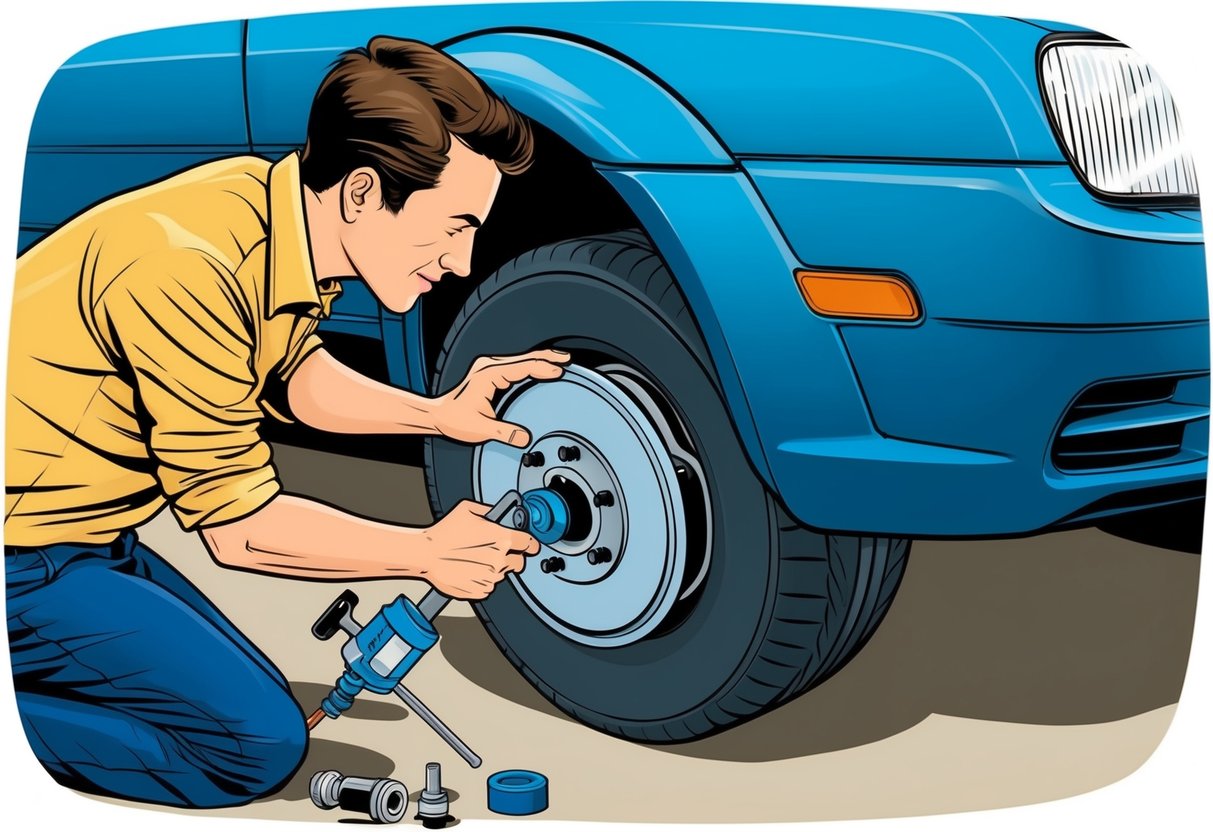
Applying Lubricants to Guide Pins and Slides
Guide pins and slides allow the caliper to move smoothly, ensuring even brake pad wear and consistent braking force. Friction and exposure to road debris can cause these areas to dry out or seize.
Using a high-temperature, silicone-based brake grease reduces metal-on-metal contact and prevents corrosion. Apply a thin, even layer of lubricant to all guide pins, caliper slides, and the metal contact points where pads and calipers meet.
Avoid getting any grease on the rotor or friction surface of the pad. Proper lubrication helps reduce brake squeal, extends pad life, and improves pedal feel.
This step is discussed in more detail by R1 Concepts’ brake lubrication guide.
Anti-Noise Shims and Features
Many modern brake pads are equipped with anti-noise shims or insulator plates. These thin layers of material, often rubber-coated steel, fit between the pad backing plate and the caliper or piston.
Their main function is to dampen vibration that can cause squeaking or squealing noises. If reusing pads, inspect shims for damage, corrosion, or warping.
Replace as needed to maintain effectiveness. Where shims are missing or unavailable, an application of anti-squeal compound on the back plate of the pad can also help reduce noise.
Mechanic discussions confirm that products like brake grease applied to contact points help quiet squealing brakes.
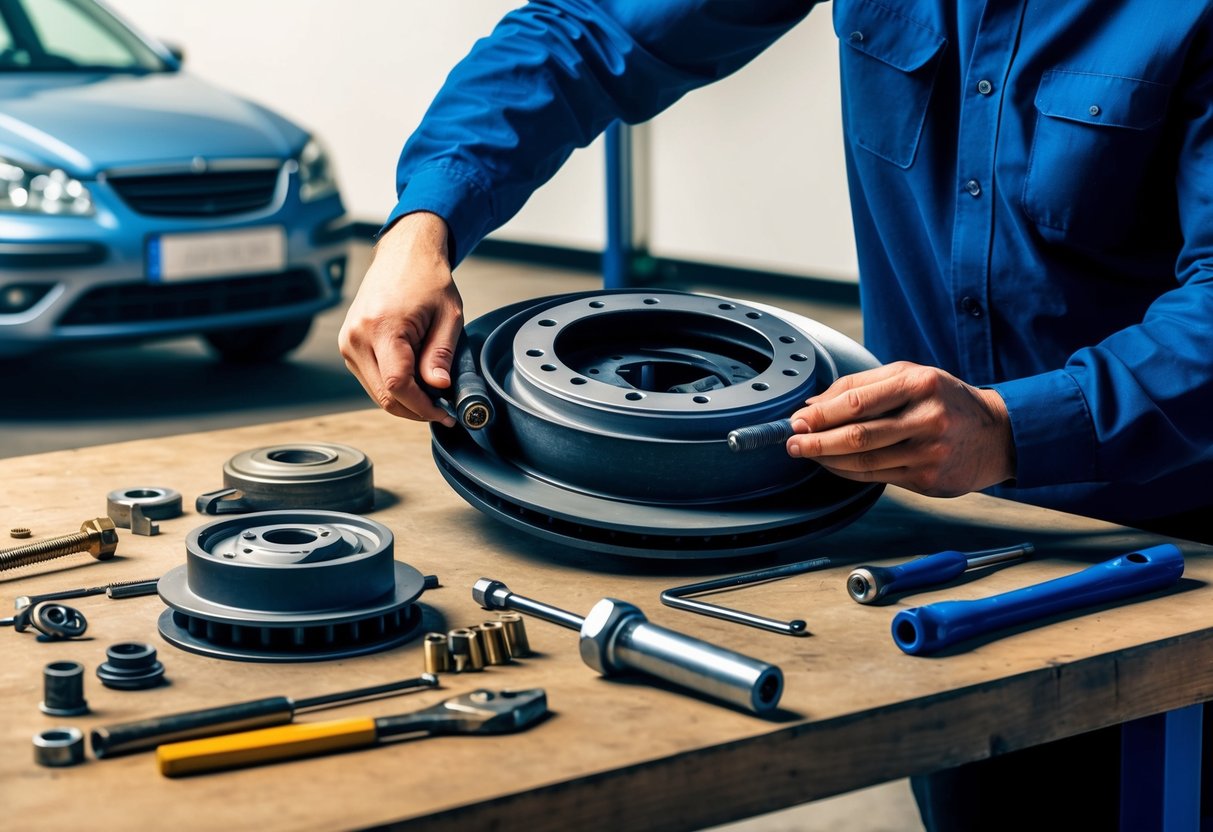
Preventing Rust and Excessive Clearance
Rust and excessive clearance can lead to unwanted movement and noise in brake assemblies. Rust on the caliper bracket or pad abutment can force pads out of alignment, create uneven wear, and cause high-pitched noises.
Use a wire brush or sandpaper to clean all sliding and contact surfaces before reassembly. Check for excessive wear or deformation in caliper brackets and pad abutments.
Excessive clearance allows pads to shift more than intended, contributing to rattles or squealing. Damaged or missing back plates should be replaced, as they help stabilize the pad.
Regular cleaning and inspection of these components prevent rust buildup and maintain proper fit for quieter braking.
Reassembling and Adjusting the Brake System
Proper reassembly is essential to ensure safe and reliable brake performance. Each component—whether part of the disc or drum brake system—must be torqued, secured, adjusted, and bled according to specifications to maintain optimal braking power and consistency.
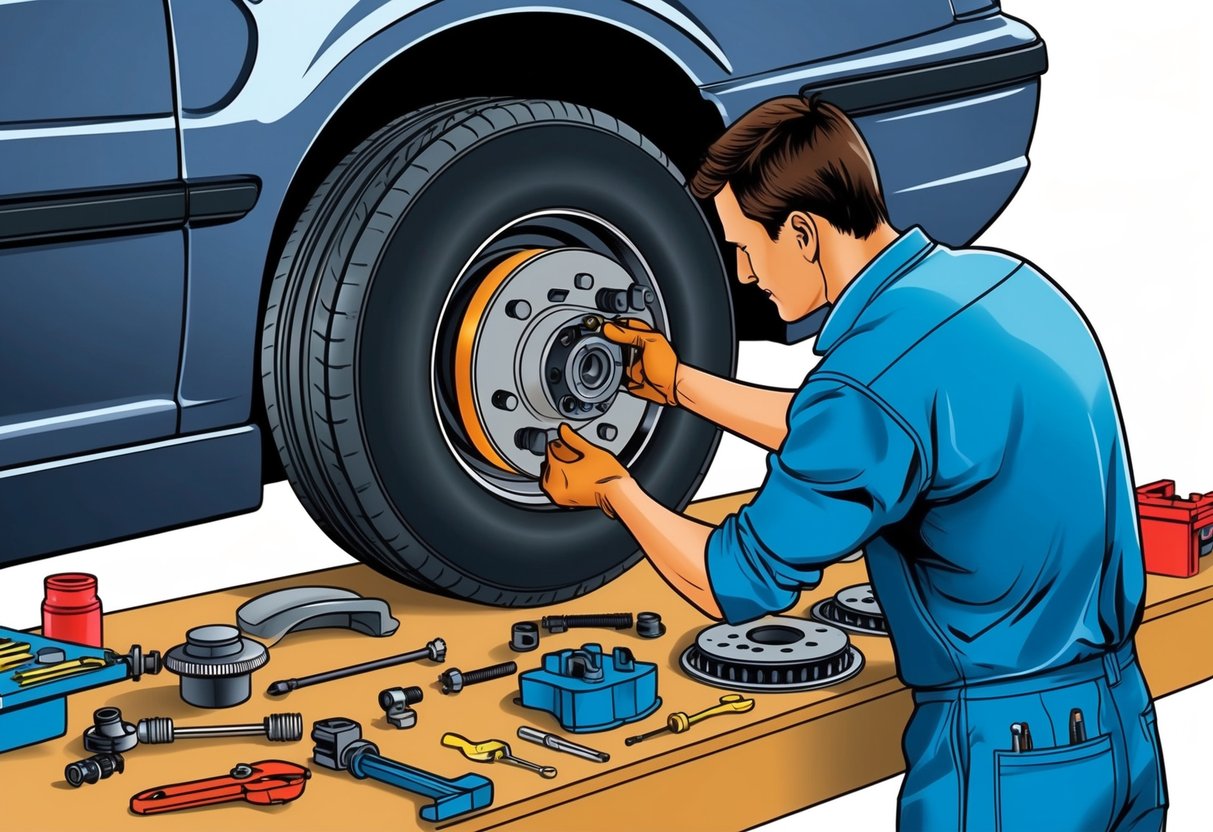
Torquing and Securing All Components
After installing new pads, rotors, or shoes, every bolt should be tightened to its specified torque value using a torque wrench. Under-tightening could lead to vibrations or loose components, while over-tightening may strip threads or damage calipers.
Most caliper bracket bolts have unique torque specs. Check the manufacturer’s guidelines before proceeding.
All brake hardware—including caliper mounting bolts, slide pins, and anti-rattle clips—should be reinstalled and properly lubricated with high-temperature grease. This prevents rust, corrosion, or future squeaking.
When reconnecting the wheel, lug nuts must be tightened in a star pattern to ensure the rotor sits flush and prevents warping. Double-check the position of the pads or shoes, ensuring they sit squarely against the rotor or drum.
If reinstalling drum brakes, confirm that the wheel cylinder is free of leaks and moves smoothly.
Adjusting Drum Brakes and Parking Brake
Drum brakes often require manual adjustment to ensure the shoes are a hair’s breadth from the drum’s surface without causing drag. Rotate the star wheel adjuster (usually accessible through a slot in the brake backing plate) until some resistance is felt when the wheel is spun by hand.
The parking brake—also known as the emergency brake—may need to be adjusted as well. Many systems use a cable that can be tightened at an adjuster nut, usually beneath the car or under the center console.
After adjustments, press and release the brake pedal several times to allow the shoes and hardware to seat. The parking brake should fully engage within 6-10 clicks for most vehicles.
If the parking brake operates through the rear drum or an internal drum inside a disc, confirm proper engagement and release before road testing.
Bleeding the Brake Fluid
Bleeding the brake system removes air that can become trapped in the lines or wheel cylinders, which can cause a soft pedal or poor braking. Start with the wheel furthest from the brake master cylinder, typically the passenger rear, moving closer in a cross-pattern sequence.
Attach a clear hose to the bleeder valve and submerge the opposite end in brake fluid in a catch bottle. Loosen the valve, then have an assistant press the brake pedal until no bubbles appear in the fluid.
Repeat for each wheel. During bleeding, always monitor the brake fluid level in the reservoir and top off as needed to avoid introducing more air.
On vehicles equipped with a proportioning valve, make sure it is functioning properly, as it helps balance brake pressure between the front and rear brakes. Tighten all bleeder valves after complete fluid replacement and check for leaks, especially around the wheel cylinder or caliper.
Testing and Troubleshooting After Repair
Safety checks are crucial after any brake repair. Effectively testing and troubleshooting brake noise help ensure proper brake function and reliability.
Initial Brake Test and Bedding In New Pads
Once brake pads are replaced, a careful initial test drive is required. Start by pressing the brake pedal to ensure a firm, responsive feel.
If the pedal feels soft, recheck the brake fluid and ensure all components are secure. Test at low speeds first, then gradually increase speed.
Bedding in new pads is essential. This process, also known as “breaking in,” involves making a series of moderate stops to transfer an even layer of brake pad material onto the friction surfaces of the rotors.
Perform 8-10 stops from 30 to 10 mph, allowing time for brakes to cool between stops. Avoid aggressive stops until the process is complete.
Diagnosing Persistent Brake Noise
Squeaks, squeals, or grinding noises after a brake repair can point to several brake problems. Begin diagnosis by ensuring all components are properly installed and lubricated.
Check that brake pads are not backward or misaligned and that anti-rattle clips are secure. Contaminants like oil, dirt, or excess brake dust can cause ongoing noise.
Visually inspect friction surfaces for signs of scoring, glazing, or uneven pad wear. Clean components with a brake cleaner if necessary.
If noise persists, consider that low-quality or incompatible pads may be an issue. In rare cases, rotor damage or uneven wear can also be the culprit.
More diagnostic tips can be found in this guide to troubleshooting brake noise.
Addressing Uneven Braking or Vibration
If the steering wheel shakes or you feel pulsing in the pedal, address uneven braking or vibration promptly for safety. Excessive vibration usually indicates warped rotors, improper installation, or foreign debris left between the pads and rotors.
Start by inspecting each friction surface for visible warping, scoring, or buildup. Remove and reinstall pads if necessary, ensuring they move freely in their hardware.
Check for corrosion or rust on contact points. Use a torque wrench to confirm wheel lug nuts and caliper bolts are evenly and correctly tightened.
Persistent issues may require rotor resurfacing or replacement for correct operation.