
Removing Old Brake Parts
Removing worn brake parts is a crucial step in brake repair at home. Proper attention to detail helps prevent issues during reassembly and ensures the safety and effectiveness of the brake system.
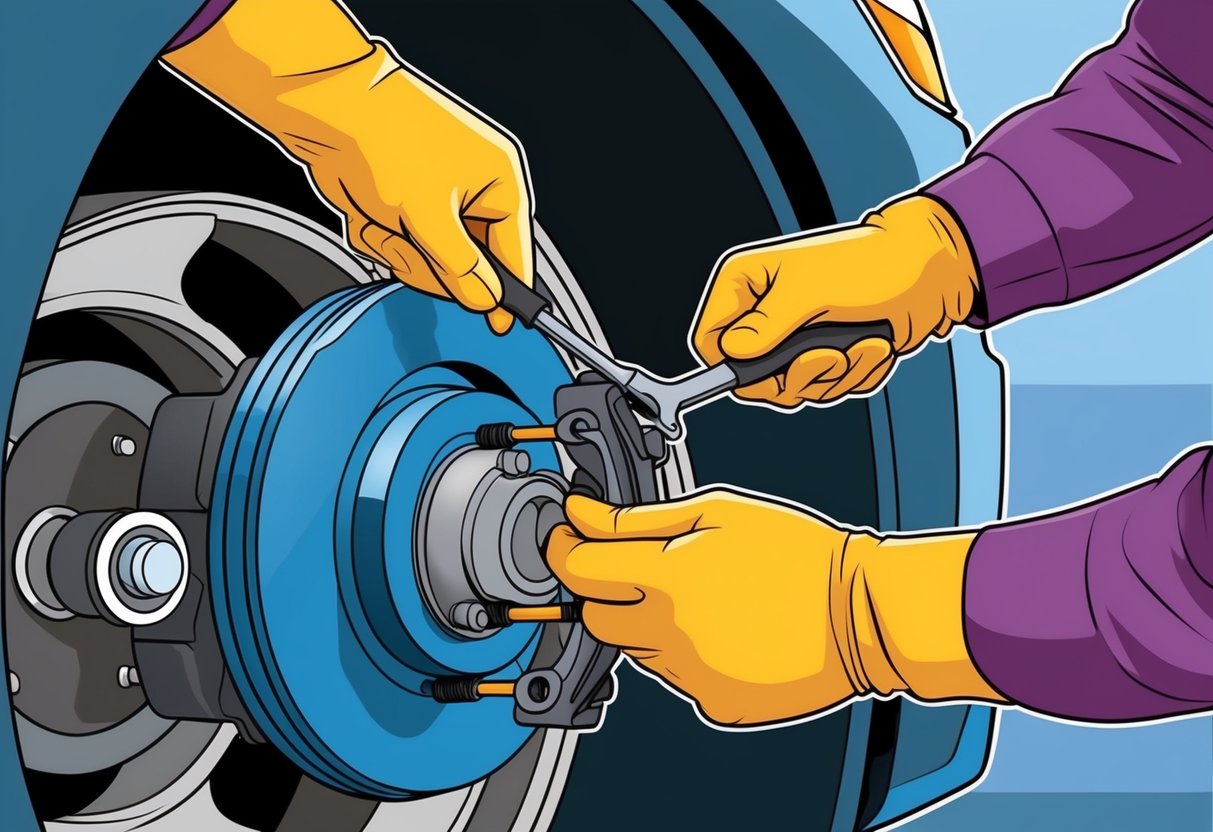
Detaching Brake Calipers and Pads
The first task is to remove the wheel and expose the brake assembly. Locate the brake caliper and its mounting bolts.
These bolts typically sit at the back of the caliper and may require a socket wrench or a special tool to loosen. Once the bolts are removed, gently slide the caliper off the brake rotor.
Avoid letting the caliper hang freely, as this can strain the brake hose; instead, support it with a sturdy wire or zip tie attached to the suspension. Remove the brake pads by pushing them sideways out of the caliper bracket.
Inspect the caliper piston for debris or damage, as this area must move smoothly for proper braking. Worn pads should be compared to new ones to confirm significant wear before replacement.
When finished, clean the surfaces to prep for installing new pads. For a more detailed visual guide, see this comprehensive DIY brake pad replacement guide.
Removing Rotors or Drums
After removing the caliper and pads, focus on the brake rotors or drums. For disc brakes, rotors may slide right off the hub, but sometimes retaining screws must be removed first.
If the rotor is stuck, tap it gently around the hat area with a rubber mallet to loosen rust buildup. Drum brakes require removal of the drum after backing off the adjuster to release brake shoe tension.
Some drums feature threaded holes for a bolt to help push the drum away from the hub if it’s seized. Carefully inspect both the inside surface of drums and both faces of brake rotors for scoring, grooves, or excessive wear.
For specific step-by-step visuals, refer to this AutoZone brake replacement guide, which covers rotors and drums.
Handling Stuck and Rusty Components
Rust buildup is common, especially in older brake assemblies or vehicles exposed to moisture. Penetrating oil—applied to rusty bolts, studs, or the hub-rotor connection—can make removal easier.
Allow the oil to soak for several minutes before attempting again. If components remain seized, use a breaker bar for extra leverage on stubborn caliper bolts.
For a rotor stuck due to rust, alternate between tapping with a rubber mallet and tightening a bolt through any available rotor removal holes, working gradually to avoid damage. Wire brushes and sandpaper are useful for removing surface rust from the hub and caliper bracket.
Removing rust ensures the proper fit of replacement brake rotors and makes future maintenance easier. Properly cleaning contact points also reduces the risk of brake noise after reassembly.
For more tips on dealing with tough, rusty brake parts, watch this video on changing brakes at home.
Installing New Brake Components
Correct installation of brake pads, rotors, shoes, and associated hardware ensures safe and reliable stopping power. Each step must be performed methodically to prevent uneven wear, squeaking, and loss of braking efficiency.
Properly Installing Brake Pads and Rotors
When installing a new brake pad set and rotors, cleanliness and orientation are crucial. The braking surface of the rotor needs to be wiped with brake cleaner to remove protective coatings.
Before mounting, verify that the rotor sits flush against the hub to prevent pulsation. Position the caliper bracket over the rotor and snugly secure the bolts.
Insert the new brake pads by sliding them into the bracket with anti-rattle clips installed, ensuring the friction material faces the rotor. Lubricate the sliding surfaces and contact points with a high-temperature brake grease.
It’s essential to check that guide pins are free-moving and properly greased to avoid uneven pad wear. Carefully reinstall the caliper over the new pads, compressing the piston as needed, then tighten bolts to the manufacturer’s specified torque.
Always double-check pad alignment and that the entire brake assembly is securely reassembled. For an illustrated step-by-step, reference this detailed guide to installing brake pads and rotors.
Replacing Brake Shoes and Drums
Replacing brake shoes and drums involves additional components and steps compared to disc brakes. Start by removing the drum and cleaning all brake dust from the assembly.
Take note of the position of springs and adjusters, as proper orientation is critical for correct reassembly. Remove the old brake shoes, being careful not to damage any hardware or levers.
Install new brake shoes in their original positions, attaching return springs and parking brake levers as needed. Adjust and ensure the brake shoes are correctly centered, then reinstall the drum.
If the drum is scored or worn, replace it to prevent vibration and noise. After mounting, use the adjuster to set the correct clearance between the shoes and drum.
Ensure that all hardware is secure and test for smooth drum rotation. For more on adjusting and installing drum brake components, see this comprehensive brake replacement guide.
Reassembling Caliper Brackets and Slides
Proper reassembly of the caliper bracket and slides is critical for consistent braking performance. Clean all bracket surfaces, removing rust or debris that could interfere with pad movement.
Lubricate guide pin bores and ensure the guide pins move smoothly in and out. Install fresh anti-rattle clips or shims included with most brake pad sets.
Position the bracket over the rotor and torque the mounting bolts to specification. Insert the guide pins with a thin coating of silicone-based high-temperature grease to reduce noise and allow free caliper movement.
Double-check all fastening points on the brake assembly, ensuring the caliper does not bind and pads return to their resting positions smoothly. Take extra care on vehicles with floating calipers, as improper guide pin lubrication often leads to sticking brakes or uneven pad wear.